Acrylic Progress
Construction
I spent a few hours today cleaning up the piece of acrylic I had cut before I moved. It was a little (1/8") too large on one side, so I went to town sanding it down to be flush. Even 0.1" acrylic is dense stuff, and it took quite a bit of elbow grease to get it sanded down properly.
After that, I decided it was time to apply contact paper to the acrylic. Now's as good a time as any and I'm not getting any younger. Each of the two pieces of acrylic needs two pieces of contact paper. The contact paper is only 12" wide and the acrylic is 19" wide. That's just fine, because I can use the middle of the acrylic for the seam, as that runs along a pixel division anyway.
The first piece I tried to apply was a complete failure. I tried to align the long edge all at once and kept having to peel it back up and re-stick it down. After a couple tries like this, I noticed that the paper was stretching from the forces (the adhesive is pretty strong, plus the acrylic and contact paper were creating a static attraction as well).
For my second attempt, I aligned one end, the short direction, and squeegeed a small (4"?) of it to the acrylic. Then I slowly peeled the backing off while keeping the paper taut and using the squeegee as I gradually stuck the paper to the acrylic. This worked "OK" and left managable air bubbles that I could deal with.
The second half of the acrylic went on so much easier. I had very few air bubbles and no stretching or ripping.
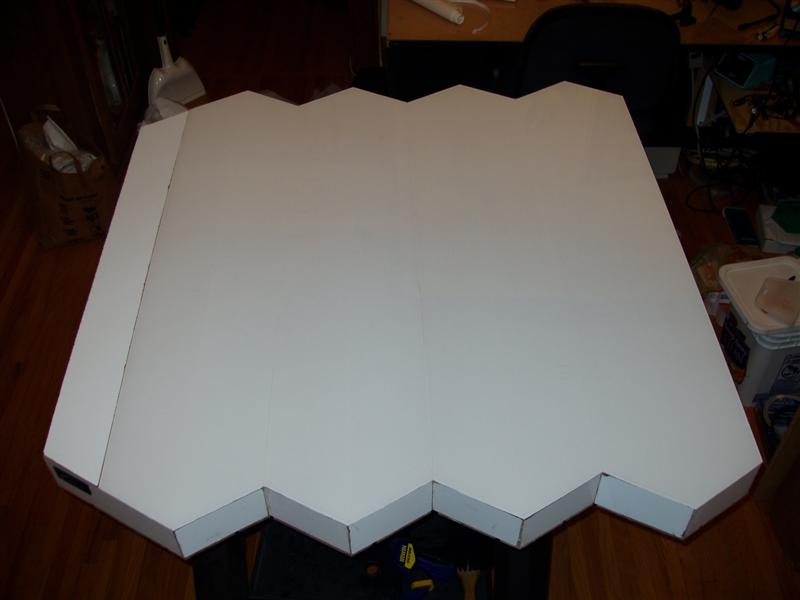
I also cut the second piece of acrylic and affixed more contact paper to it, with similar results to the first one. Now I have a wonderful white box. It's a little odd how completely white it is (only the bottom edge, 1/4" thick from the peg board, is not white). Reminds me a little of an Apple product.
| | |
|---|---|---|
| Wall with acrylic | Acrylic pieces with contact paper | Close-up of pixel with aluminum tape |

Labels: Construction
posted by Jurek @ 2:19 AM
![]()
![]()
0 Comments:
Post a Comment
Links to this post:
Create a Link
<< Home