Jurek and the Amazing Techno, Colored DreamWall

Jurek and the Amazing Techno, Colored DreamWall

The title is mostly a placeholder, as I haven't really figured out a name for it yet. This project is a wall hanging that consists of semi-large triangular pixels using discrete RGB LED's and PWM to control intensity levels of each LED, resulting in a 4096-color display.

Saturday, July 22, 2006

Progress Update

Wow, 3 whole weeks since the last post! Man, people might start thinking the 'blog (and project) is dead.
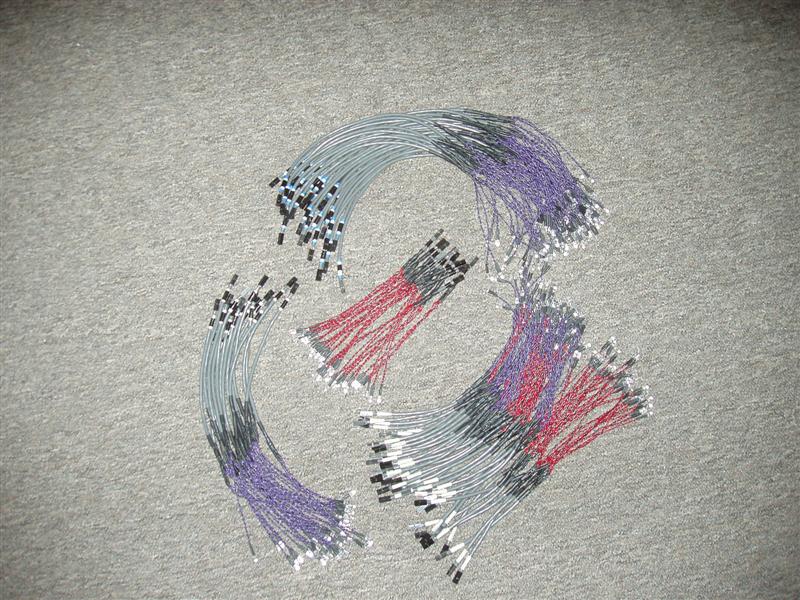
LED soldering
12 more done, making 112 of 240 (47.6%). I've made some small progress on making more "supplies", like twisted pair sections, heatshrink lengths, and LED & resistor lead trimming, but haven't started soldering any new ones yet.

Construction
I've made a bit more progress in this department (probably more so than the soldering).

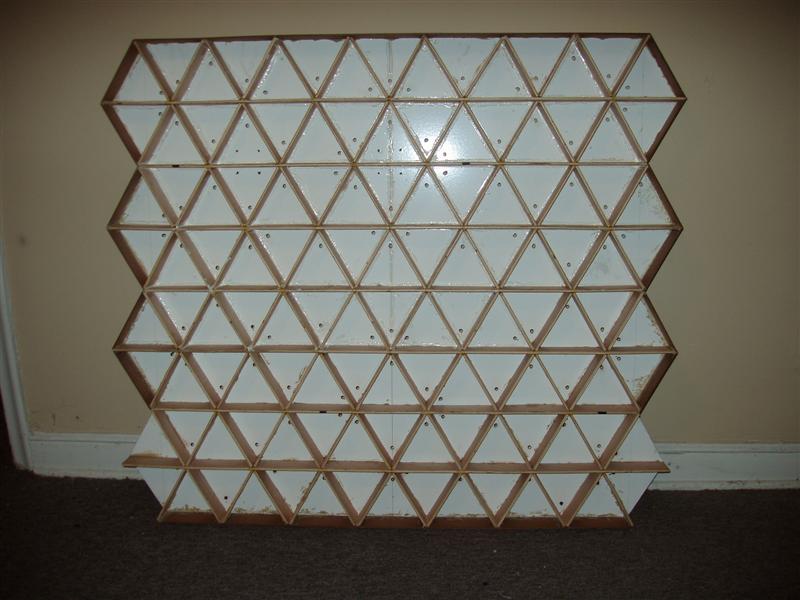
I finished cutting one of the two back pieces of pegboard and attached it, via hinges, to a spare piece of wood from the previous construction attempts. This marks the very first metal used in this new design! The hinges split the module horizontally, so the two pieces of pegboard will pivot the same way as well. The hinged back provides me access to all of the electronics once it's done.
I still haven't entirely figured out how to secure the other end of the pegboard yet. The piece that's cut is on the top, and this piece needs to be load bearing. This means that I need to make it secure to the other floor and not just the sides (as they're just glued to the internal floor and provide no structural stability).
My current thinking is to attach several L-brackets to the pegboard and a few to the internal floor as well. Then a metal dowel could be fed through a hole in one side of the sidewall to latch everything together. The only problem is that the L-brackets have to be very small, as the gap is < 1".

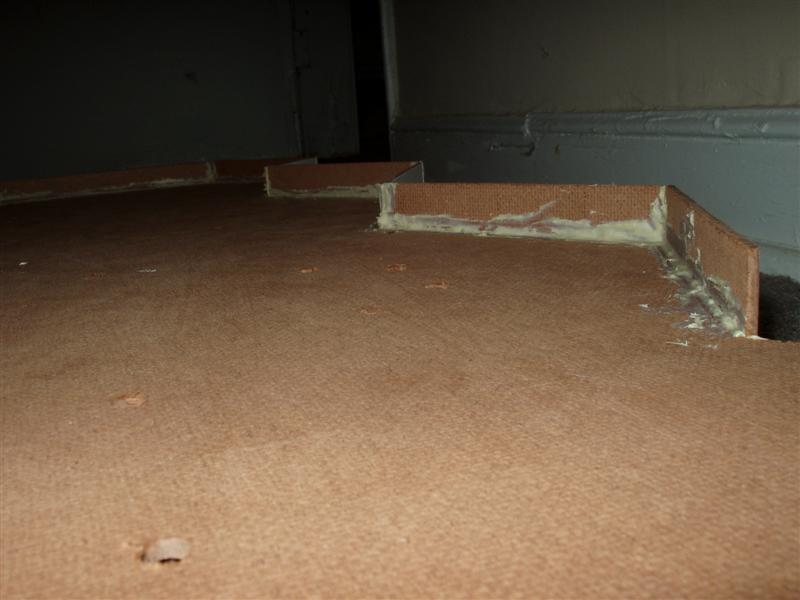
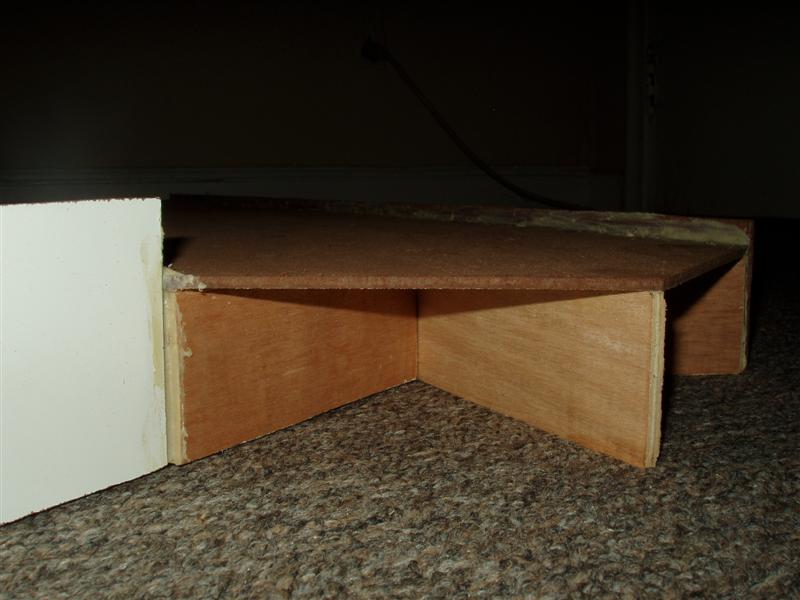
Also today, I got 3 scrap pieces of wood (same scrap wood that I used to attach the hinges and pegboard to) glued to the bottom side wall, to make a region for the shadow box. This shadow box, if you may remember, is going to hold the power supply.

That is all for now. The glue is drying as I type, so I'm about done for today. It needs a good 24 hours to properly cure.

Labels: ,

Saturday, July 01, 2006

Progress Update

Construction
I cut and attached another 7 pieces of marker board today; 6 side pieces and the smaller bottom piece. This smaller piece will separate the pixels from where the power supply will reside. I still haven't quite figured out how to construct the bottom box, as it needs to attach to the existing wall (and, indeed, be part of it). I thought I had it all figured out, but after attaching the bottom piece today, I realized that there is no support for anything.

Pictures
As (sorta) promised, here are a bunch of pictures with the latest progress (the last ones were back in April!):

100 soldered LED wire segments:

The differently-patterned bands near the header indicate how long each wire segment is.
  • Black is 2" (12 done)
  • Tan is 6" (41 done)
  • Tan-Black-Tan is 8" (17 done)
  • Blue-Tan-Black-Tan-Blue is 12" (30 done)
Not pictured (because I haven't made any yet) are:
  • Blue is 5"
  • Blue-Black-Blue is 4"

Current construction status:
Front view, showing wire holes and side pieces (4 still need to be attached at the bottom)


View showing the back side (the floor you see is the back side of the white marker board). The height of the outside walls, visible on the top and right of the picture, is a little under 1 inch. Also visible is my wonderful joint-gluing work, using Liquid Nailz.


Side view, near the bottom of the wall, where there still needs to be two pieces attached. This shows the entire height (depth, really) of everything. The marker board visible on the extreme left is 3" tall. The plywood pixel dividers at the middle/bottom are 2" tall. The shorter bottom marker board piece that's barely visible along the back edge is 2.5" tall.

Labels: