Assemblyline starting
LED Driver Boards
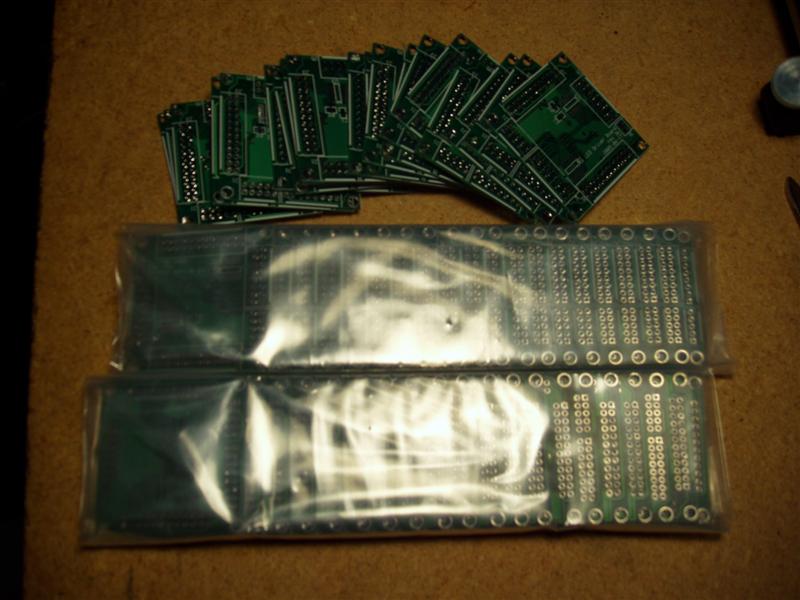
I got my 60 driver boards on Friday, and boy do they look sweet:

I soldered up 1 of the boards on Friday night... It "only" took me about 3 hours to do it from start to finish, so hopefully I can find some ways to speed that process up. I was having some problems soldering the 3rd driver chip to the board. No matter what I did, it always seemed to screw up the cross-pin resistance (i.e. make the resistance smaller). I was really worried about losing the first board (kinda makes it a bummer to have the very first board not work), so I went and grabbed a bottle of hydrogen peroxide and a cue tip and completely went over all the contacts with it. There was a lot of "slag" on the pins and I couldn't seem to get rid of it... The H2O2 fixed that problem wonderfully.
In the end, I managed to get >1MOhm between every single adjacent pin pair. The entire first chip I did was >10MOhm... far exceeding my initial expectations. All of these measurements were taken directly after soldering the connections too. I will be going over the whole board with 99% isopropyl alcohol (hydrogen peroxide you get from the store is generally 70% at most) and then baking the chips at ~250F for about 6-12 hours. That should clear up any remaining issues with cross-pin resistance.
Wall Construction
I also stopped by Home Depot and picked up a bunch of wood and some tools to work with. My apartment isn't all that big and I don't really have any really-available working space, so I converted my kitchen into a woodshop. For the size and quantity I'm dealing with on this project, it's not too big of an issue.
For the exterior walls, I bought some 1/2"x3" planks. They were sorta spendy ($3.50 per 4') but I only need about 22' of it, so it's not all that bad. For the internal walls, I bought some 1"x3" planks. These were much cheaper; on the order of $1.50 per 8', and I only need 24' of them. The only internal walls that are going to be wood are the horizontal sections that have distance sensors on them (see the picture in Acrylic + Contact Paper = Super-Happy Fun Time). For all of the other internal walls, I'm going to be using some sort of thin metal (flashing?).
I only cut a few pieces on Saturday night (the top & bottom exterior pieces, an internal piece, and 2 of the zig-zag pieces on the side), just to test the feasibility of my work environment. It all seems to work OK, so that's yet another part of the project I'm able to work on.
Labels: Construction, Soldering
posted by Jurek @ 12:30 AM
![]()
![]()
1 Comments:
Like the equation, love the (current?) title, was hoping to understand more than 70% of the text.
Driver Boards + "looks sweet" = LOL
Post a Comment
Links to this post:
Create a Link
<< Home