The Good, the Bad, & the Better
Wow... what a week.
The Bad
On Sunday (the day after my previous post), I decided to pull out the microcontroller board and test out the processor. I also had plans on trying out the processors I bought for this purpose, so I didn't have to use the one that came with the starter kit as well as plans to test my newly-finished uC board.
I pull out the board, dust it off, put the processor in, and hook it up. Nothin'. Windows says it doesn't know what the hardware is and that I should unplug it and plug it back in. !*@* I play around with things for a while: I try reinstalling the software; I try a different uC; I try using a different computer. Still nothing. Ugh...
I check DigiKey to order another one. They have 1 (!!!!!) in stock, and it's for $82 instead of their normal $132. At least something's looking up. I also need to order a bunch of resistors, as I finally found a good match for mixing. 280 Ohms for red, and 69.8 Ohms for both green and blue. These values are driving red at 10mA and both green and blue at 20mA. Go figure, the red at the same mcd power is twice as powerful as green or blue. Oh well...
So I add 500 69.8 Ohm resistors and 250 280 Ohm resistors to my shopping cart (240 pixels) and I add in a few random switches to test out for the reset button, voltage source, USB unload switch, and ISP switch and off my order goes... ZOOM!!! I love 2-day ground shipping for $5.
The Good
So then Tuesday rolls around and I get my uC starter kit board #2, 750 resistors, and switches. I didn't have any time to play around with them at all Tuesday or Wednesday, so they sat awaiting my involvement until Thursday. Thursday rolls around and I pull the new starter kit out and hook it up. Wonderfully (and expectedly), it works on the first try.
OK... now what?
I take the new processor out of the new starter kit and stick it in the old starter kit. It works perfectly...
I take the old processor and put it in the new starter kit. It works perfectly...
I take the old processor and put it in the old starter kit. IT works perfectly...
AUGH!!!!!!!!!!
So my stupid self actually had the processor in wrong. I had it rotated 90 degrees and had just assumed that the package of the processor or the socket wouldn't allow me to do that. Oh well... not all is lost.
What this allows me to do now is to use the SPI (Serial Peripheral Interface) (or even the TWI for that matter) to do inter-uC communication testing. Whee, what fun! I played around a little bit and (thought I) managed to get the two processors to communicate properly. Oh what joy abounds!... almost. It turns out that that wasn't the case at all.
I had also ordered through Techni-Tool a bunch of different supplies, including a new circuitboard vise, solder reel, tip tinner, and (most-importantly) a smoke absorber. They are scheduled to arrive on Tuesday, so I can continue my soldering fun then!
The Better
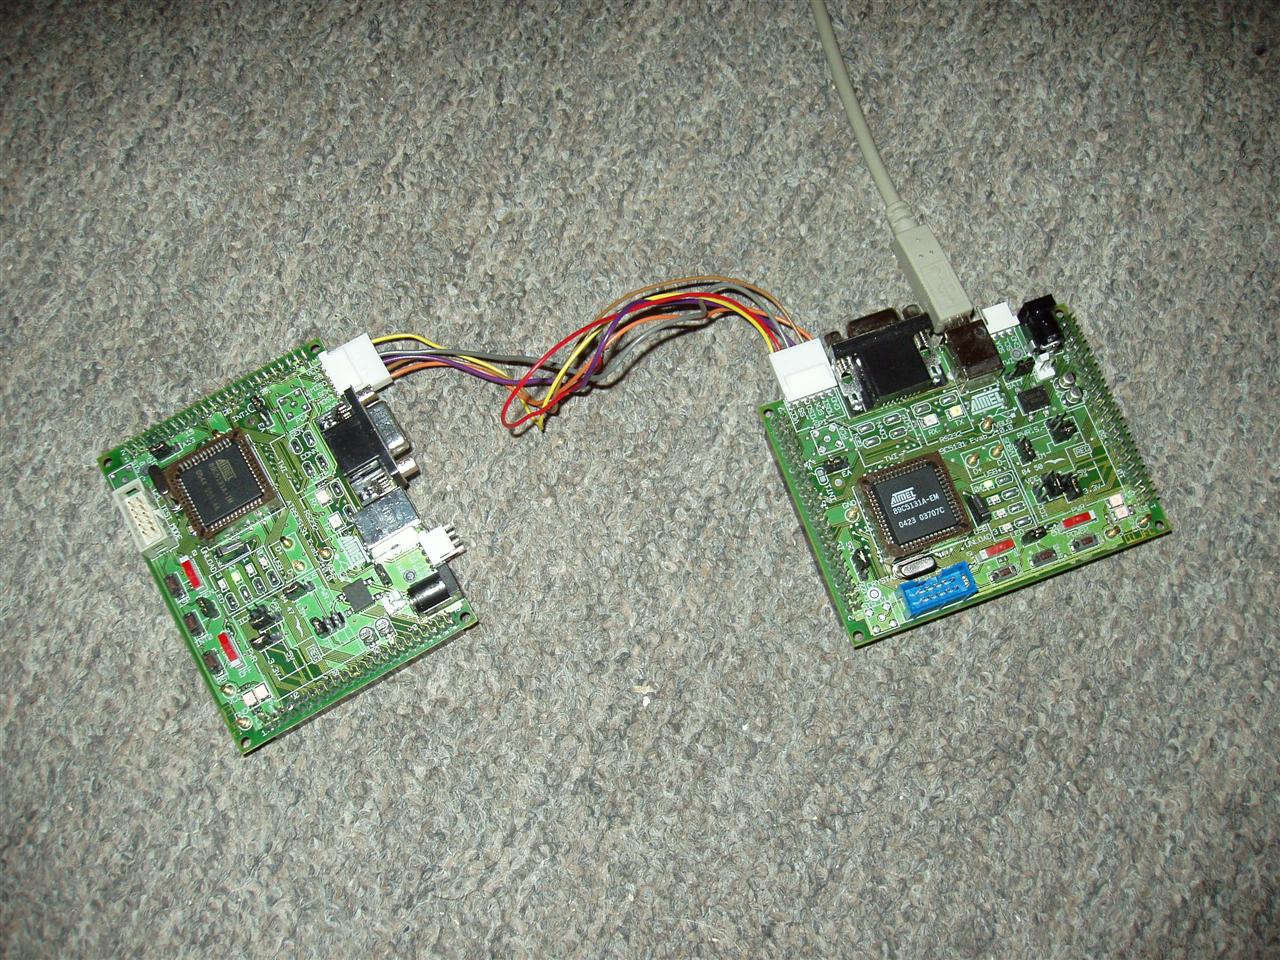
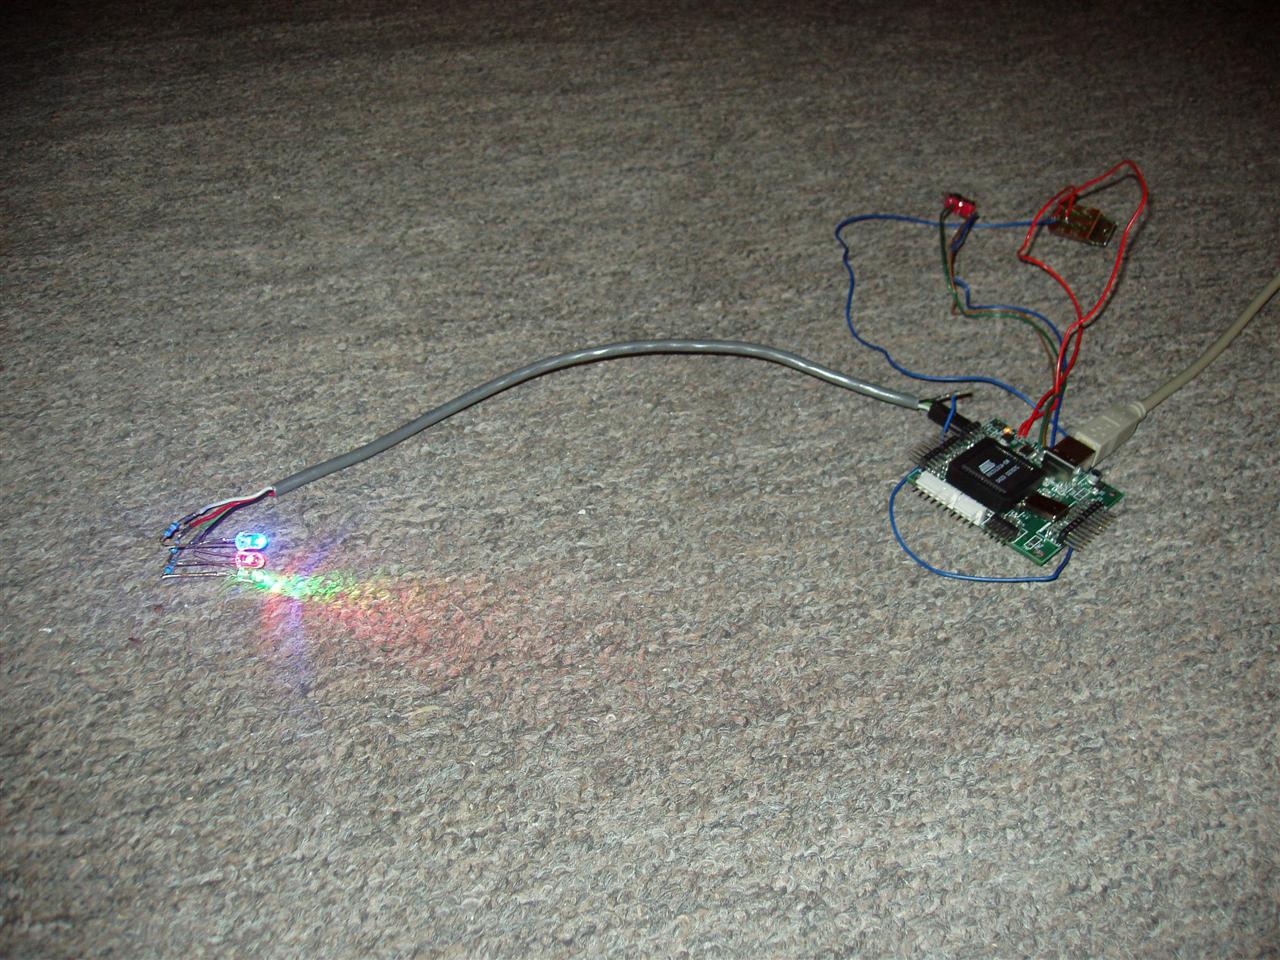
OK, so Saturday, I dive back into the board and try to do more with the inter-uC communication. I turned the slave board on and noticed that the light patterns were exactly the same as I was seeing before, except this time it wasn't hooked up to the master board.
After some debugging, I found out that there is a pin on the SPI wire set (there are 6 on the starter board) that is called SS. This stands for Slave Select and is only supposed to be asserted if it is supposed to be the slave that is being communicated to. I had these hooked up to each other, so I'm sure they were just freaking out about who was the slave. Anyway, Atmel had some sample code that didn't use the SS line, so I just used that instead.
Two starter kit boards, hooked together via SPI. Note that the slave board isn't being connected via USB to anything; it's getting its power from the SPI bus.

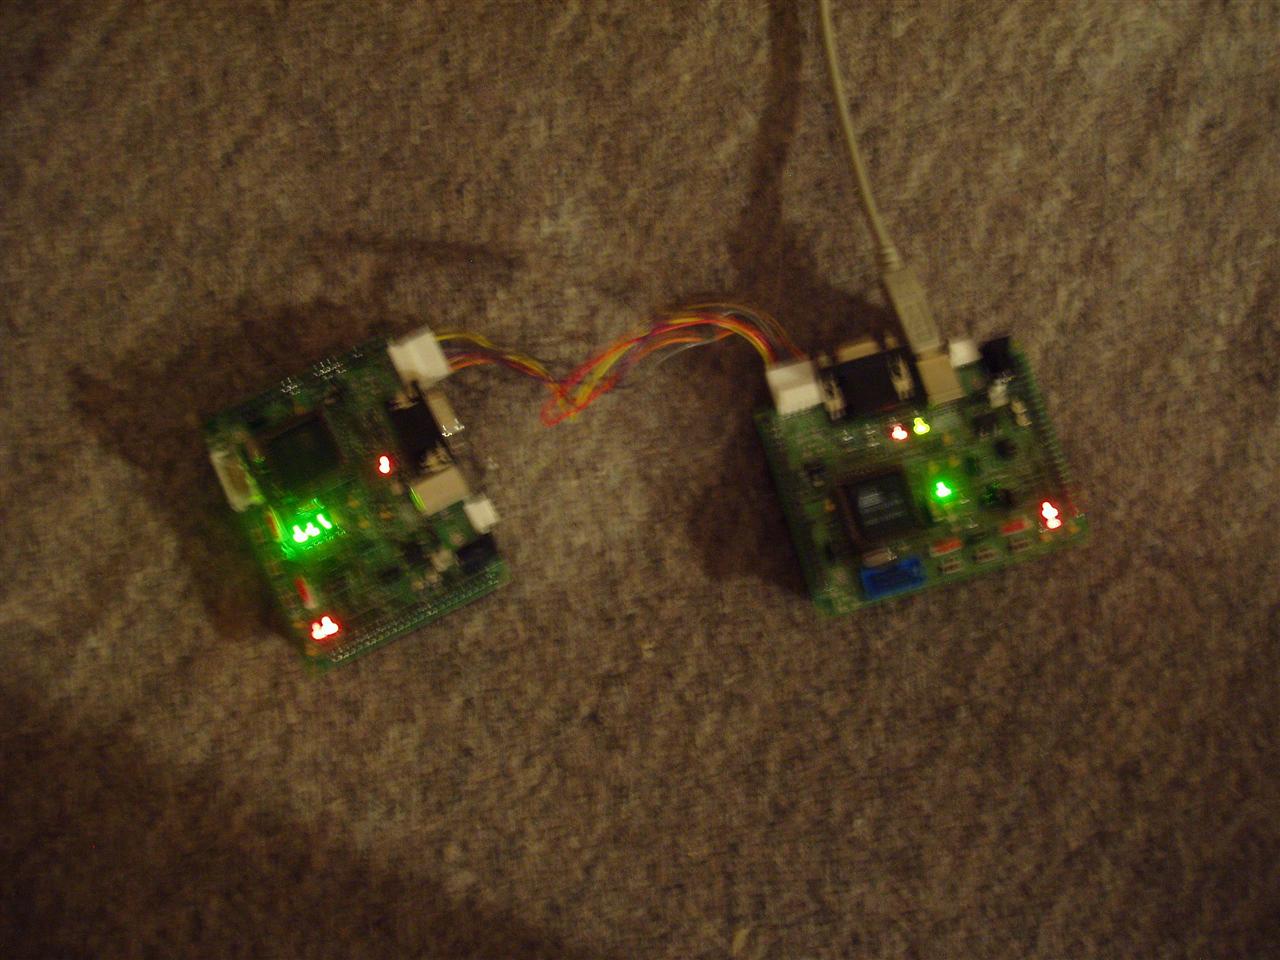
Lit version:
Quicktime Movie (2.33MB):

I got a pretty non-random pattern to successfully be transferred from the master to the slave uC and it appears to work properly this time.
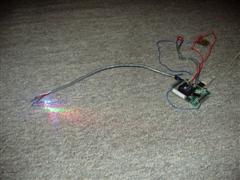
I also got a wild idea to test my as-of-yet untested uC board that I finished soldering a couple weeks ago. I reprogrammed the uC to just randomly blink the LEDs on the test board (which use Port 3 of the uC) and then dropped the uC into the test board. What followed made me very joyous and I breathed a very big sigh of relief. What this amounts to is that the board had been started 7 months ago, involved many different steps and revisions, caused me many headaches, and kept me up at night wondering if the core component would actually work. Huzzah! (No one says "Huzzah!"... sheesh...)
Picture of the setup:
Quicktime movie of the lights a-blinkin' (1.05MB):
The Caveats (special feature!):
- For some reason, the voltage regulator is outputting at 4V instead of 3.3V, but the chips I use support up to 5.5V, so that's no biggie.
- I haven't tested either of the ADCs on the board
- I also haven't tested the USB data port (the computer never recognized the device when I plugged it in, so I'm sorta suspect about that)
- Nor have I done an exhaustive test on the ports (only a few pins of Port 3)
- I also haven't tested the current limiter on the USB port, so that may or may not work either. It wouldn't be the end of the world if that didn't work, however.
- I still have to figure out how to solder the LEDs together on a piece of wire. The one piece I soldered together looks like crap and won't work at all. Plus, I have to do 240 of them. Fun, fun!
posted by Jurek @ 12:03 AM
![]()
![]()
2 Comments:
I played with SPI a very little bit using aJile's AJ-100 Java processor. If I remember right, we were using it to multiplex signals from a bunch of A/Ds, since we didn't have enough pins to listen to them all at the same time. It worked pretty slicko, and I think an upcoming project will need it too.
Are you planning on using SPI for all your inter-device communications?
No, the ADCs I have use the TWI bus, as do the driver chips. The SPI is just another bus that the microcontroller has on it, so I figured I could use that to communicate over. I really can't use the TWI because the driver chips share address space between the two wall sections.
Post a Comment
Links to this post:
Create a Link
<< Home