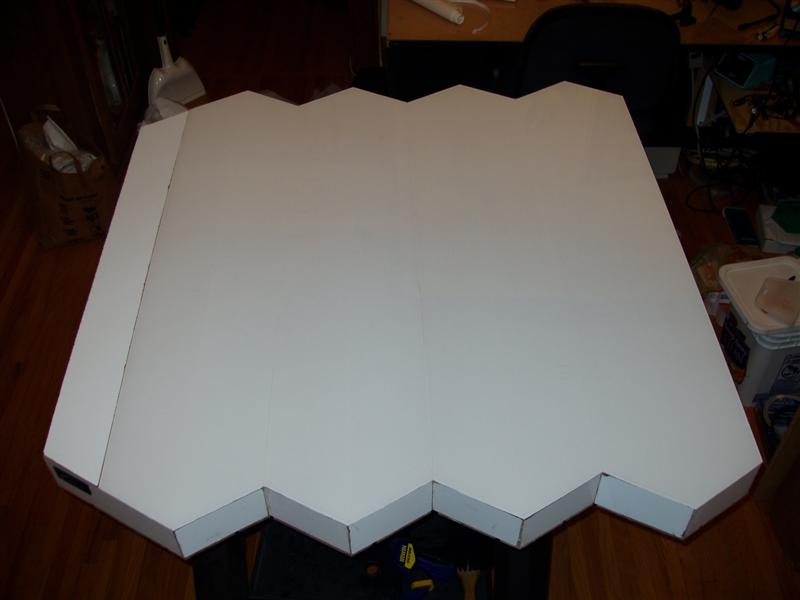
Jurek and the Amazing Techno, Colored DreamWall

Jurek and the Amazing Techno, Colored DreamWall

The title is mostly a placeholder, as I haven't really figured out a name for it yet. This project is a wall hanging that consists of semi-large triangular pixels using discrete RGB LED's and PWM to control intensity levels of each LED, resulting in a 4096-color display.

Tuesday, September 19, 2006

Shiney!

Construction


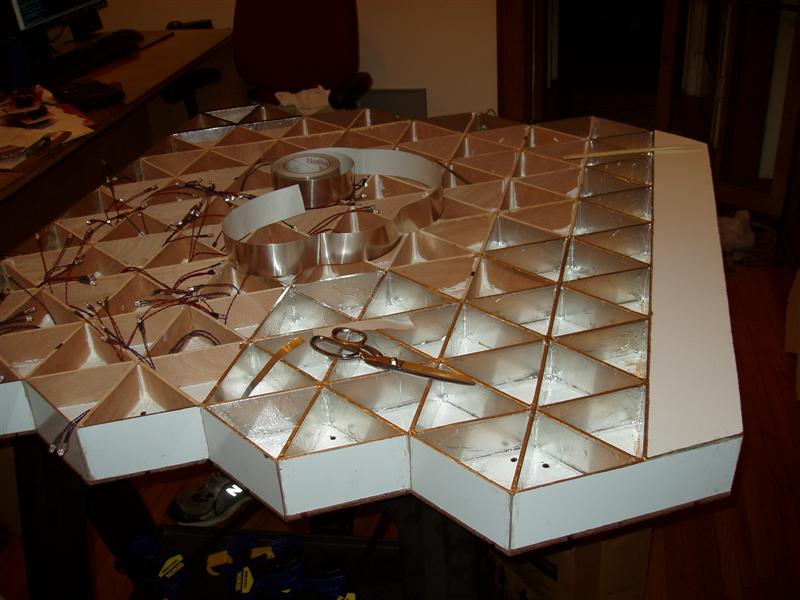
All together now... "OOooooo... shiney!"

As an added bonus...

LEDs relaxing in their natural habitat:

Little do they know of the terror that awaits them...

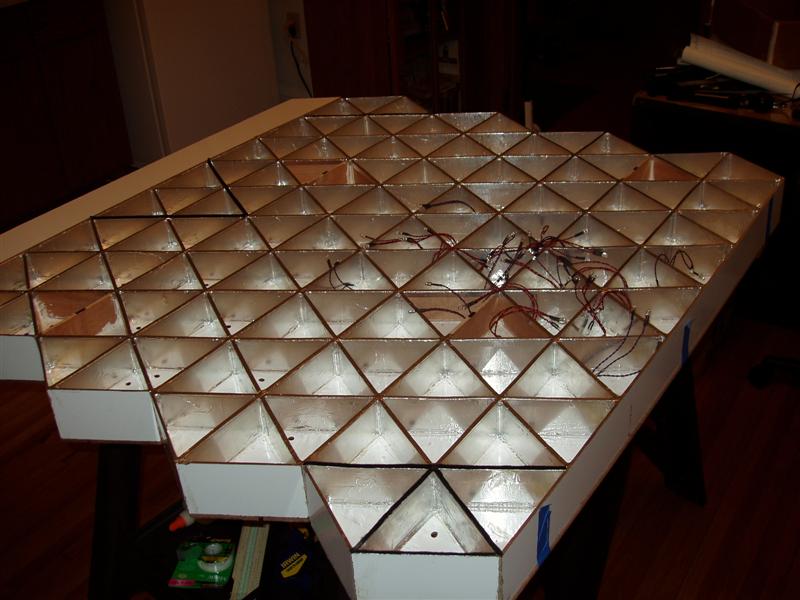
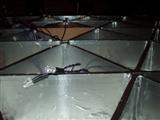
I've spent about 18 hours in the last week working on this and have used about 70 yards of aluminum tape to do this module. My fingers are a bit sore and dry, but at least it's done!

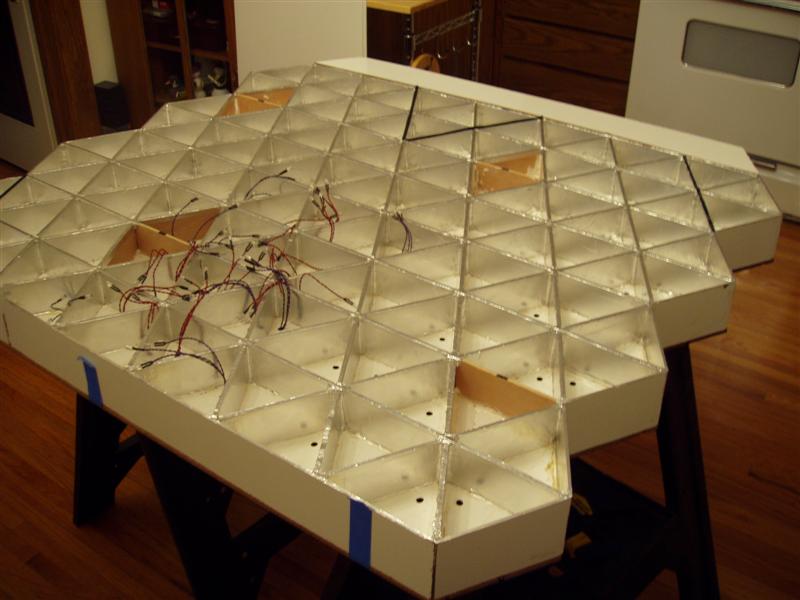
I've also briefly been playing around with a new method of attaching the acrylic to the wall. My latest idea is to use velcro along the pixel borders with the opposite velcro side on the contact paper/acrylic. The narrowest/longest velcro combination I could find was 5/8" wide, which is pretty wide compared to the 1/4" wide pixel divisions I have. I can cut 3 strips out of it and they work just about right.
At first, I just tried gluing the velcro to the wood, but that didn't work worth a damn. The glue soaked right through the wood and seeped through the velcro. Then I got the idea to put the aluminum tape on the top of the wood. (This testing was before I set out to cover the entire wall with tape) Gluing this way worked decently, but still not as good as I hoped. My most-recent incarnation involves glue for the most part, plus several staples along the length of the piece to really hold it in place.
To offset the gap created by the velcro (I don't really need velcro across every single division, and the edges are 1/8", which is far too narrow for the velcro), I also bought a bunch of black felt to glue on both the pixel divisions and the contact paper/acrylic. Hopefully, the combination of the velcro and the felt will create a light-blocking barrier on the top of the wall.

You can see the velcro (and felt) in the pictures. It's the black strips along the different parts, on the top.

I have also left 7 (should be 8, but I got a little ahead of myself) pixels untaped, as these are the potential locations of the distance sensors. I've still not tested them at all, so they may not happen, but I would really like to use them.

Labels:

Sunday, September 10, 2006

Acrylic Progress

Construction
I spent a few hours today cleaning up the piece of acrylic I had cut before I moved. It was a little (1/8") too large on one side, so I went to town sanding it down to be flush. Even 0.1" acrylic is dense stuff, and it took quite a bit of elbow grease to get it sanded down properly.

After that, I decided it was time to apply contact paper to the acrylic. Now's as good a time as any and I'm not getting any younger. Each of the two pieces of acrylic needs two pieces of contact paper. The contact paper is only 12" wide and the acrylic is 19" wide. That's just fine, because I can use the middle of the acrylic for the seam, as that runs along a pixel division anyway.
The first piece I tried to apply was a complete failure. I tried to align the long edge all at once and kept having to peel it back up and re-stick it down. After a couple tries like this, I noticed that the paper was stretching from the forces (the adhesive is pretty strong, plus the acrylic and contact paper were creating a static attraction as well).
For my second attempt, I aligned one end, the short direction, and squeegeed a small (4"?) of it to the acrylic. Then I slowly peeled the backing off while keeping the paper taut and using the squeegee as I gradually stuck the paper to the acrylic. This worked "OK" and left managable air bubbles that I could deal with.
The second half of the acrylic went on so much easier. I had very few air bubbles and no stretching or ripping.

I also cut the second piece of acrylic and affixed more contact paper to it, with similar results to the first one. Now I have a wonderful white box. It's a little odd how completely white it is (only the bottom edge, 1/4" thick from the peg board, is not white). Reminds me a little of an Apple product.


Wall with acrylicAcrylic pieces with contact paperClose-up of pixel with aluminum tape

Labels:

Tuesday, September 05, 2006

Site update

I forgot to mention a few minor site-related items in my last post.


I've topped 1000 hits! Wow, that's low traffic volume. 1000 hits in about 16 months. wooo anyway, I guess


I've added a small item to the sidebar, "random math problem". These are picked at random and vary from moderately-easy to "I haven't solved them yet". I'm not saying that I'm a math genius or anything, but these are all from some math classwork I did back in 9th grade. More than a few still leave my head scratching, even though I'm now able to solve about 95% of the problems.

Anyway, for the answer, you should be able to mouse over the problem and have a box pop up that says "Highlight for answer". I made the text color the same as the background, so that if you accidentally mouse over the box, you don't reveal the answer. To see the answer, just click-and-drag over the box to highlight the answer. Most of the answers are purely numerical and often are just a single number.

Yay random time wasters.

Labels:

Monday, September 04, 2006

Finally Moved In

So I've finally gotten moved in (2 weeks ago, even) and mostly have my workbench set up again. It's a slightly slow process, as anyone who has moved many times can attest to.

Acrylic
Before I moved, I managed to get one (of two, per module) of the 0.093" pieces of acrylic cut. It went fairly easily, which I was glad for, and it looks pretty good. I'm still trying to figure out how it will attach to the wall. I don't really want to glue it on, sealing all of the pixels, and I can't have any nasty hinges on the sides. My current thinking is to have long, thin bolts that go all the way through the wall floor. They will need to be 2.25-2.5" bolts to be able to do this. Any ideas are certainly welcome.

Alumin(i)um Foil
I decided to buy some aluminum tape instead of trying to wrangle with aluminum foil. The stuff I found fits perfectly. It's 2" tall and is the exact height of the inside of the pixel walls. I tested putting pieces on one of the pixels and it went together very easily. I used 2 wooden dowels/chopsticks to help position and place the tape and get it affixed in the corners. My fingers are far too fat to get into the corners of those 60 degree angles (not that I have fat fingers). I am quite happy with the results.

LEDs
I still have yet to find/buy a hot glue gun. I know fabric & craft stores have them, but I just haven't gotten over to one to pick up a gun yet. I don't know why I didn't think of hot glue before; screw epoxy, super glue, and caulk.

Hopefully this week, I will start working on stuff for real again. It's been far too long :|

Labels: ,